While I am rather proud of how I finished the princess seams and armholes of the bodice of the dress and successfully attached the skirt, I ran into frustration with the cording embellishment in the front.
 |
| Cording embellishment in the front. I lost the third cord (the one to be sewn on top of the bodice/skirt seam) and settled on making a new one. |
Number 1, I found that in the end, I had to undo the cording on the front of the bodice because the placement of the skirt/bodice seam had moved upward. Number 2, I just went and lost the third cord. After a lot of grief and internal turmoil, I settled on using scrap I had from the skirt overlay to recreate a cord. I don't have along enough bit, so it will be piece meal.
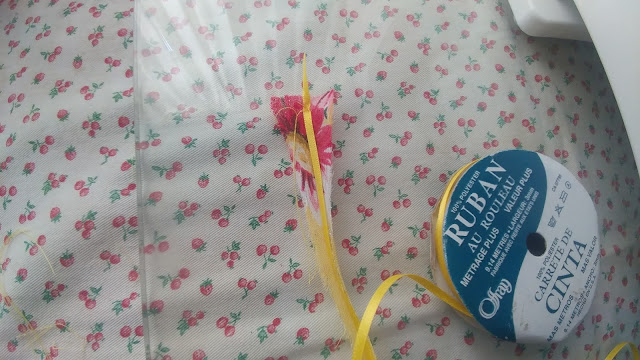
So today, it was cord making! I used a sewing hack I saw several places, that of using a thin ribbon to turn the skinny cord inside out.
 |
| I made 2 cm wide ribbons as long as I could manage, from scrap, then pressed them in half. |
 |
| The ribbon method begins by sewing the ribbon to the top of the strip, with the ribbon sticking out by about 2 cm (it doesn't have to be precise, just enough to make it so that the stitching won't come undone) |
 |
The ribbon attached at the top
|
 |
| This is just to show, the correct setup is actually below. Place the strap on the sewing machine. The strap should be folded in half and the ribbon encased in it, as close to the fold as it will go. |
 |
| Sew a secure seam as close to the ribbon as you can (for a skinny strap) without stitching into the ribbon (at any time, that's very important) |
Once the stitching is done, begin to pull on the ribbon at the end of the strap (opposite to where you secured it with the initial stitching). Focus on the end where you attached the ribbon to the strip and make sure the fabric doesn't bunch up there. Keep pulling on the ribbon until the whole tube has turned inside out!


Comments
Post a Comment